tutorial
Membuat websocket server (node.js) dan client (php js) menggunakan socket.io dengan client-server terpisah.
Persiapan
- Domain
- SSL tiap domain
- VPS1 untuk server
- VPS2 untuk client
- instalasi xampp server di vps1 dan vps2
- pastikan xampp virtual host aktif
- run xampp apacher server pada vps1 dan vps2
- domain dan ip public dari masing vps
Server
- server ini akan dibuat dengan menggunakan node.js
- buat folder project web-socket
- buka command line kemudian pindah ke direktori project
cd Desktop/web-socket- pada case ini folder project berada pada folder desktop
- inisialisasi folder project node.js
npm init --y
- install library yang dibutuhkan
- nodemon : npm install -g nodemon
- socket.io : npm i socket.io
- express : npm i express
- backend framework
- cross-origin : npm i cors
- mengenable akses multi url sehingga url client bisa terkoneksi ke server tsb
- buat file main.js
- kemudian isi dengan kode berikut
- kode tersebut akan mengirimkan data temperature kepada client yang terkoneksi dan meminta request temperature
//import library
const express = require('express');
const app = express();
const http = require('http');
const cors = require('cors');
const { Server } = require("socket.io");
//create server
const server = http.createServer(app);
//enable cross origin
const io = new Server(server, { cors: { origin: '*' } });
//make first page when url server is accessed
app.get('/', (req, res) => {
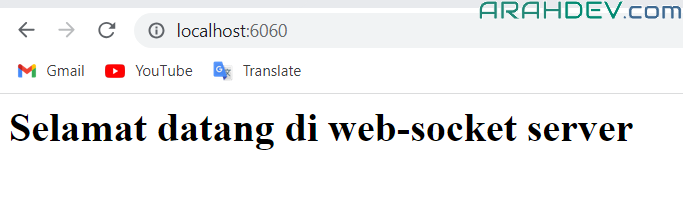
res.send('<h1>Selamat datang di web-socket server</h1>');
});
// socket
io.on('connection', (socket) => {
console.log('a user connected');
let currentTemperature = 0;
socket.on('request_temperature', function() {
setInterval(function() {
// Memperbarui nilai temperatur
currentTemperature += 1;
socket.emit('temperature', "tes:"+currentTemperature);
}, 5000);
});
socket.on('request_qrCode', function() {
....
});
socket.on('disconnect', () => {
console.log('user disconnected');
});
});
// end
server.listen(6060, () => {
console.log('listening on *:6060');
});- jalankan perintah berikut
node main.js- kemudian buka browser dengan url : localhost:6060
- jika berhasil maka akan muncul first page yang telah kita setting
Konfigurasi virtual host server
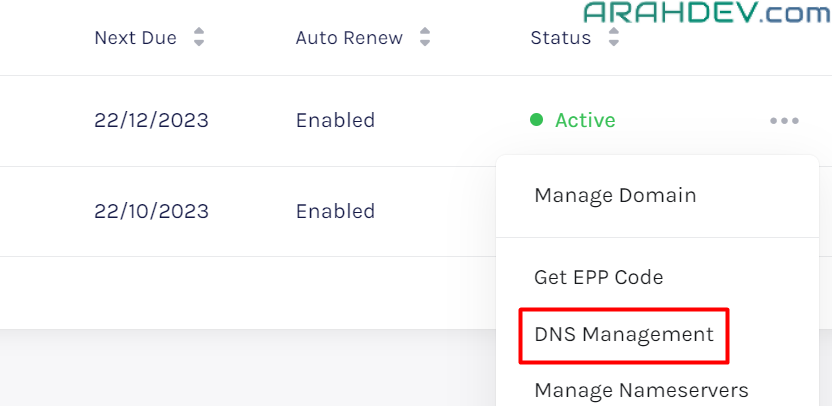
- konfigurasi subdomain atau domain pada dns manager pada penyedia server anda.
- biasanya pada menu domain/dns management
- host name : <subdDomain>.<domainName>.com
- contoh : web-socket.arahdev.com
- TTL : 3600
- Address/Value:
- contoh : arahdev.com
- biasanya pada menu domain/dns management
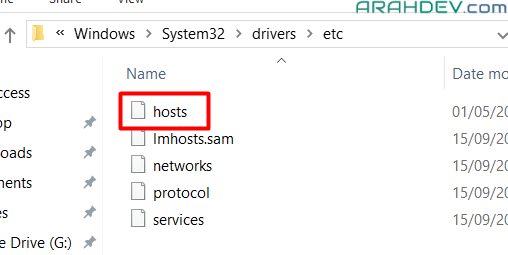
- Daftarkan hostname tersebut pada host server anda dengan cara buka file hosts
- lokasi di windows : C:\Windows\System32\drivers\etc
- lokasi di linux : /root/etc

- selanjutnya buka file tersebut dan pada baris terakhir masukkan code berikut
- 127.0.0.1 web-socket.arahdev.com
- kemudian buka virtual host xampp : httpd-vhosts.conf
- lokasi di windows : C:\Programs\xampp1\apache\conf\extra
- catatan : sesuaikan dengan lokasi installer xampp anda
- lokasi di linux : /opt/lampp/etc/extra
- buka file httpd-vhosts.conf dan masukkan kode berikut:
- lokasi di windows : C:\Programs\xampp1\apache\conf\extra
...

<VirtualHost *:80>
    ServerName web-socket.arahdev.com
    ServerAlias www.web-socket.arahdev.com

    ProxyRequests off

    <Proxy *>
        Order deny,allow
        Allow from all
    </Proxy>

    <Location />
        ProxyPass http://localhost:6060/
        ProxyPassReverse http://localhost:6060/
    </Location>
</VirtualHost>

<VirtualHost *:443>
    ServerName web-socket.arahdev.com
    SSLEngine on

    SSLProxyEngine on
    SSLProxyVerify none
    SSLProxyCheckPeerCN off
    SSLProxyCheckPeerName off

    ProxyPreserveHost On
    ProxyRequests Off

    <Location />
        ProxyPass http://localhost:6060/
        ProxyPassReverse http://localhost:6060/
    </Location>

    ErrorLog "logs/web-socket.com-error.log"
    CustomLog "logs/web-socket.com-access.log" common

    SSLProtocol +TLSv1.2 +TLSv1.3
    SSLCertificateFile "/opt/lampp/etc/ssl.crt/web-socket_certificate.crt"
    SSLCertificateKeyFile "/opt/lampp/etc/ssl.key/web-socket_private.key"
    SSLCertificateChainFile "/opt/lampp/etc/ssl.chain/web-socket_ca_bundle.crt"
</VirtualHost>- simpan document tersebut kemudian restart apache web server anda
- selanjutnya coba akses url berikut : https://web-socket.arahdev.com
- jika berhasil menampilkan first page seperti sebelumnya maka tahap ini telah berhasil
- web socket siap diakses oleh client
Client
- client ini akan dibuat menggunakan php javascript
- masukk ke folder htdocs xampp
- lokasi di windows : C:\Programs\xampp\htdocs
- lokasi di linux : /opt/lampp/htdocs
- buat folder project dengan nama web-socket-client
- pada folder tersebut buat file index.php
- pada file tersebut masukkan kode berikut
<h1>Real-time Temperature Cek</h1>
<script src="https://code.jquery.com/jquery-3.6.0.min.js"></script>
<script src="https://cdnjs.cloudflare.com/ajax/libs/socket.io/4.2.0/socket.io.js"></script>

<script>
  const socket = io("https://web-socket.arahdev.com");

  socket.on('connect', function() {
    console.log('Connected to WebSocket server');
  });

  // Event handler ketika koneksi ditutup
  socket.on('disconnect', function() {
    console.log('Disconnected from WebSocket server');
  });

  $(document).ready(function () {
       socket.emit("request_temperature");
       socket.on('temperature', function(data) {
          console.log('Received message from server:', data);
      });
  });

</script>
- buka browser dengan url : localhost/web-socket-client
- jika berhasil akan memunculkan halaman index.php


Konfigurasi virtual host client
setting virtual host seperti halnya pada server
- setting dns management
- host name : <subdDomain>.<domainName>.com
- contoh : web-socket-client.aswin.com
- TTL : 3600
- Address/Value:
- contoh : aswin.com
- host name : <subdDomain>.<domainName>.com
- Daftarkan hostname tersebut pada host vps2 anda
- 127.0.0.1 web-socket-client.aswin.com
- kemudian setting virtual host xampp : httpd-vhosts.conf
<VirtualHost *:80>
    DocumentRoot "/opt/lampp/htdocs/web-socket-client"
    ServerName web-socket-client.aswin.com
    ErrorLog "logs/web-socket-client.aswin.com-error.log"
    CustomLog "logs/web-socket-client.aswin.com-access.log" common
    Redirect / https://web-socket-client.aswin.com

    <Directory "/opt/lampp/htdocs/web-socket-client">

        Options Indexes FollowSymLinks MultiViews
        AllowOverride all
        Order Deny,Allow
        Allow from all
        Require all granted
    </Directory>
</VirtualHost>

<VirtualHost *:443>
    DocumentRoot "/opt/lampp/htdocs/web-socket-client"
    ServerName web-socket-client.aswin.com
    SSLEngine on
    SSLProtocol +TLSv1.2 +TLSv1.3
    SSLCertificateFile "/opt/lampp/etc/ssl.crt/web-socket-client_certificate.crt"
    SSLCertificateKeyFile "/opt/lampp/etc/ssl.key/web-socket-client_private.key"
    SSLCertificateChainFile "/opt/lampp/etc/ssl.chain/web-socket-client_ca_bundle.crt"
    ErrorLog "logs/web-socket-client-error.log"
    CustomLog "logs/web-socket-client-access.log" common
</VirtualHost>- buka browser dengan url : https://web-socket-client.aswin.com
- buka tab console dan cek
- jika tampil seperti dibawah maka web socket client kita berhasil terhubung dengan web socket server dan menerima data
